
Adaptive Music Teaching Tool: All about choice cards
Click here to hear this post read in Jess’ voice.
Choice boards are the one adaptive music teaching tool that I can’t go without, but they actually don’t work for all kids. (If you are not yet familiar with choice boards, click here to get up to speed.) Some children don’t yet know how to communicate using a choice board. Some children don’t have the motor control to point to their choice. Some children are visually overstimulated or internally overwhelmed by the sheer number of options on the choice board and can’t engage with it as expected.
In any of these situations, there is an easy variation on the choice board concept to facilitate choice-making with an engaged child: choice cards. The basic idea is exactly the same. You are offering visual representations of options for them to choose from, but instead of a large static menu, you have a deck of cards with one choice board image per card, and you offer a small number of choices at once.
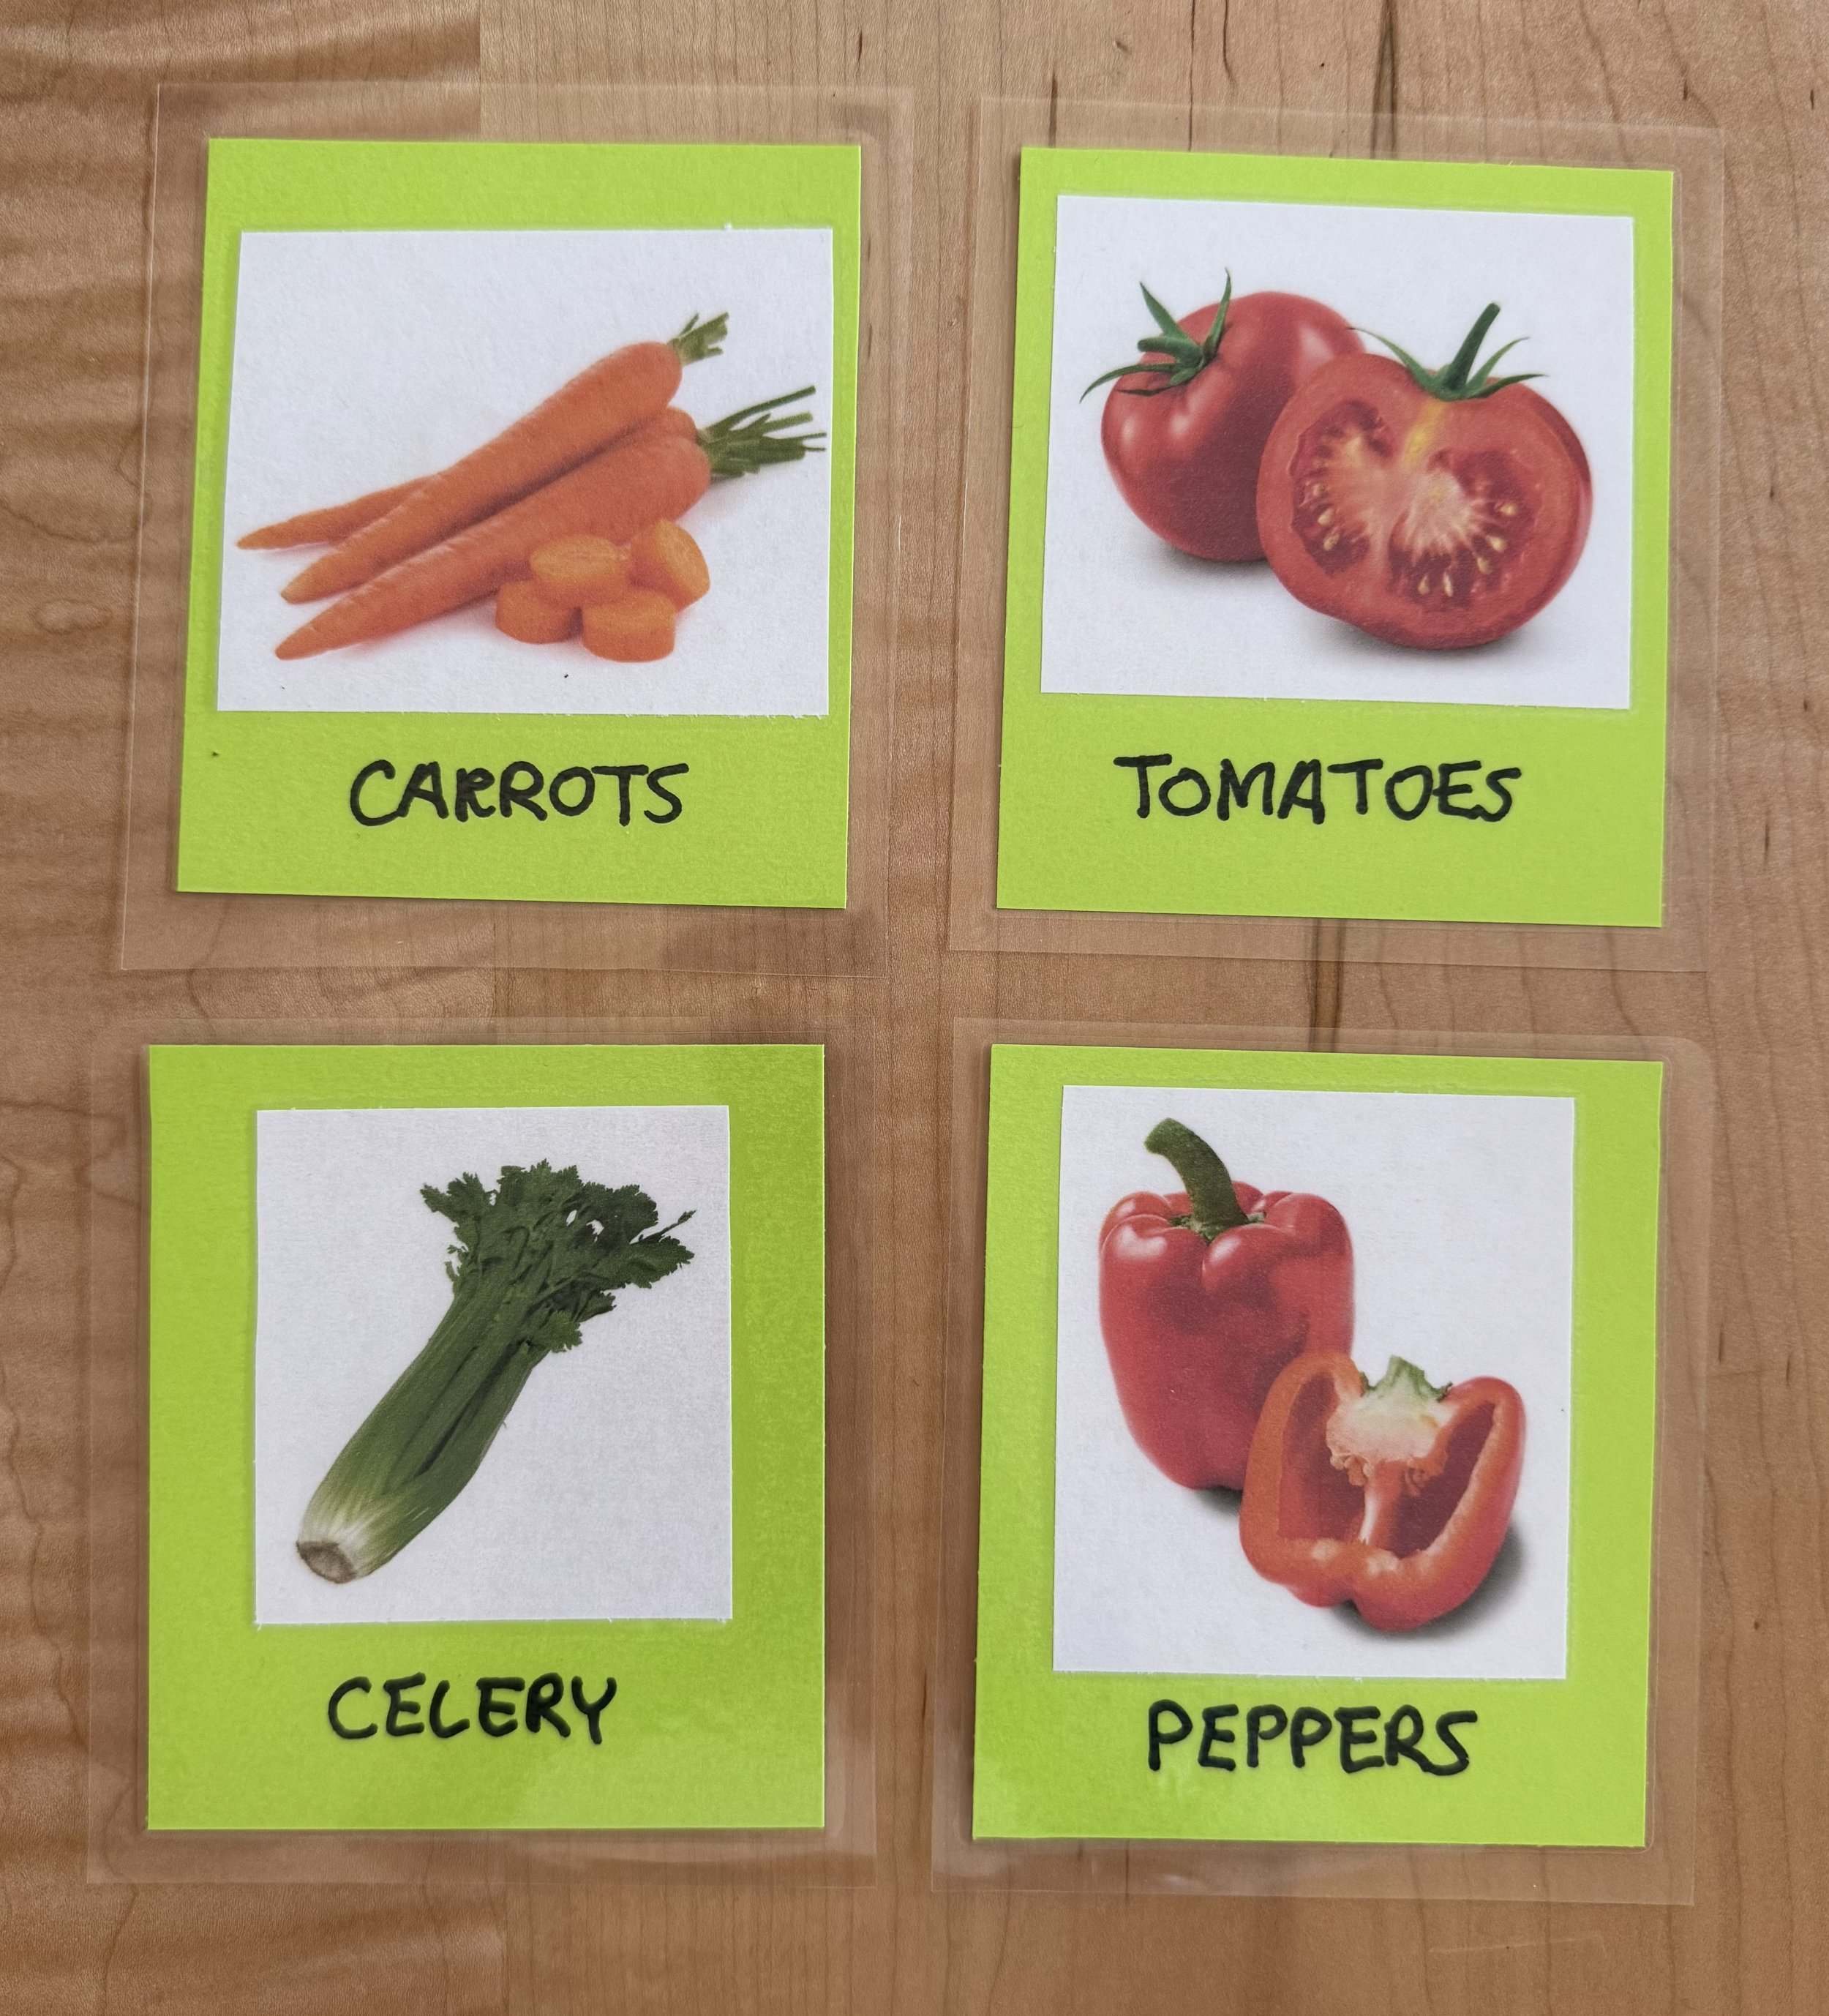
Vegetable choice cards for Chop Chop Chippetty Chop
If you look closely, you can see the plastic material margin all around the edge of each card, which helps to keep it from peeling apart.
For a child using choice cards, we typically offer 2-3 choices at a time. If the child is in the early stages of learning to make decisions through this method or is unable to point, showing two options makes it easy for the teacher to follow their eye gaze and understand their interest. If the child is working on learning to use choice cards, the teacher would then name the card that the student was looking at and touch it to the child’s hand (or use hand-over-hand guidance to assist them in pointing if the child is willing) to help them make the association.
If you are working with a student with significant motor impairments and who does not have an intellectual disability, they might need to use choice cards for eye gaze clarity, but it’s not actually appropriate to limit them to only 2-3 total choices. In this case you might still offer 2-3 cards at a time, but also name an additional action to reject these cards and display new ones. The additional action might be something like looking away from the cards, blinking, or making a facial expression or vocalization that is already in their communication repertoire. This is a situation where knowing your student and their abilities very well helps not only to foster connection and belonging, but also support their continued growth and engagement.
I most often show students choice cards in my hands because it is convenient and efficient. Jen sometimes mounts her choice cards onto velcro or magnets that stick to a cookie sheet, which gives them more visual stability. Her method also takes more prep time and materials, but can make a product that is very satisfying to use. As a bonus, some children may enjoy engaging with setting up new choices for their peers.
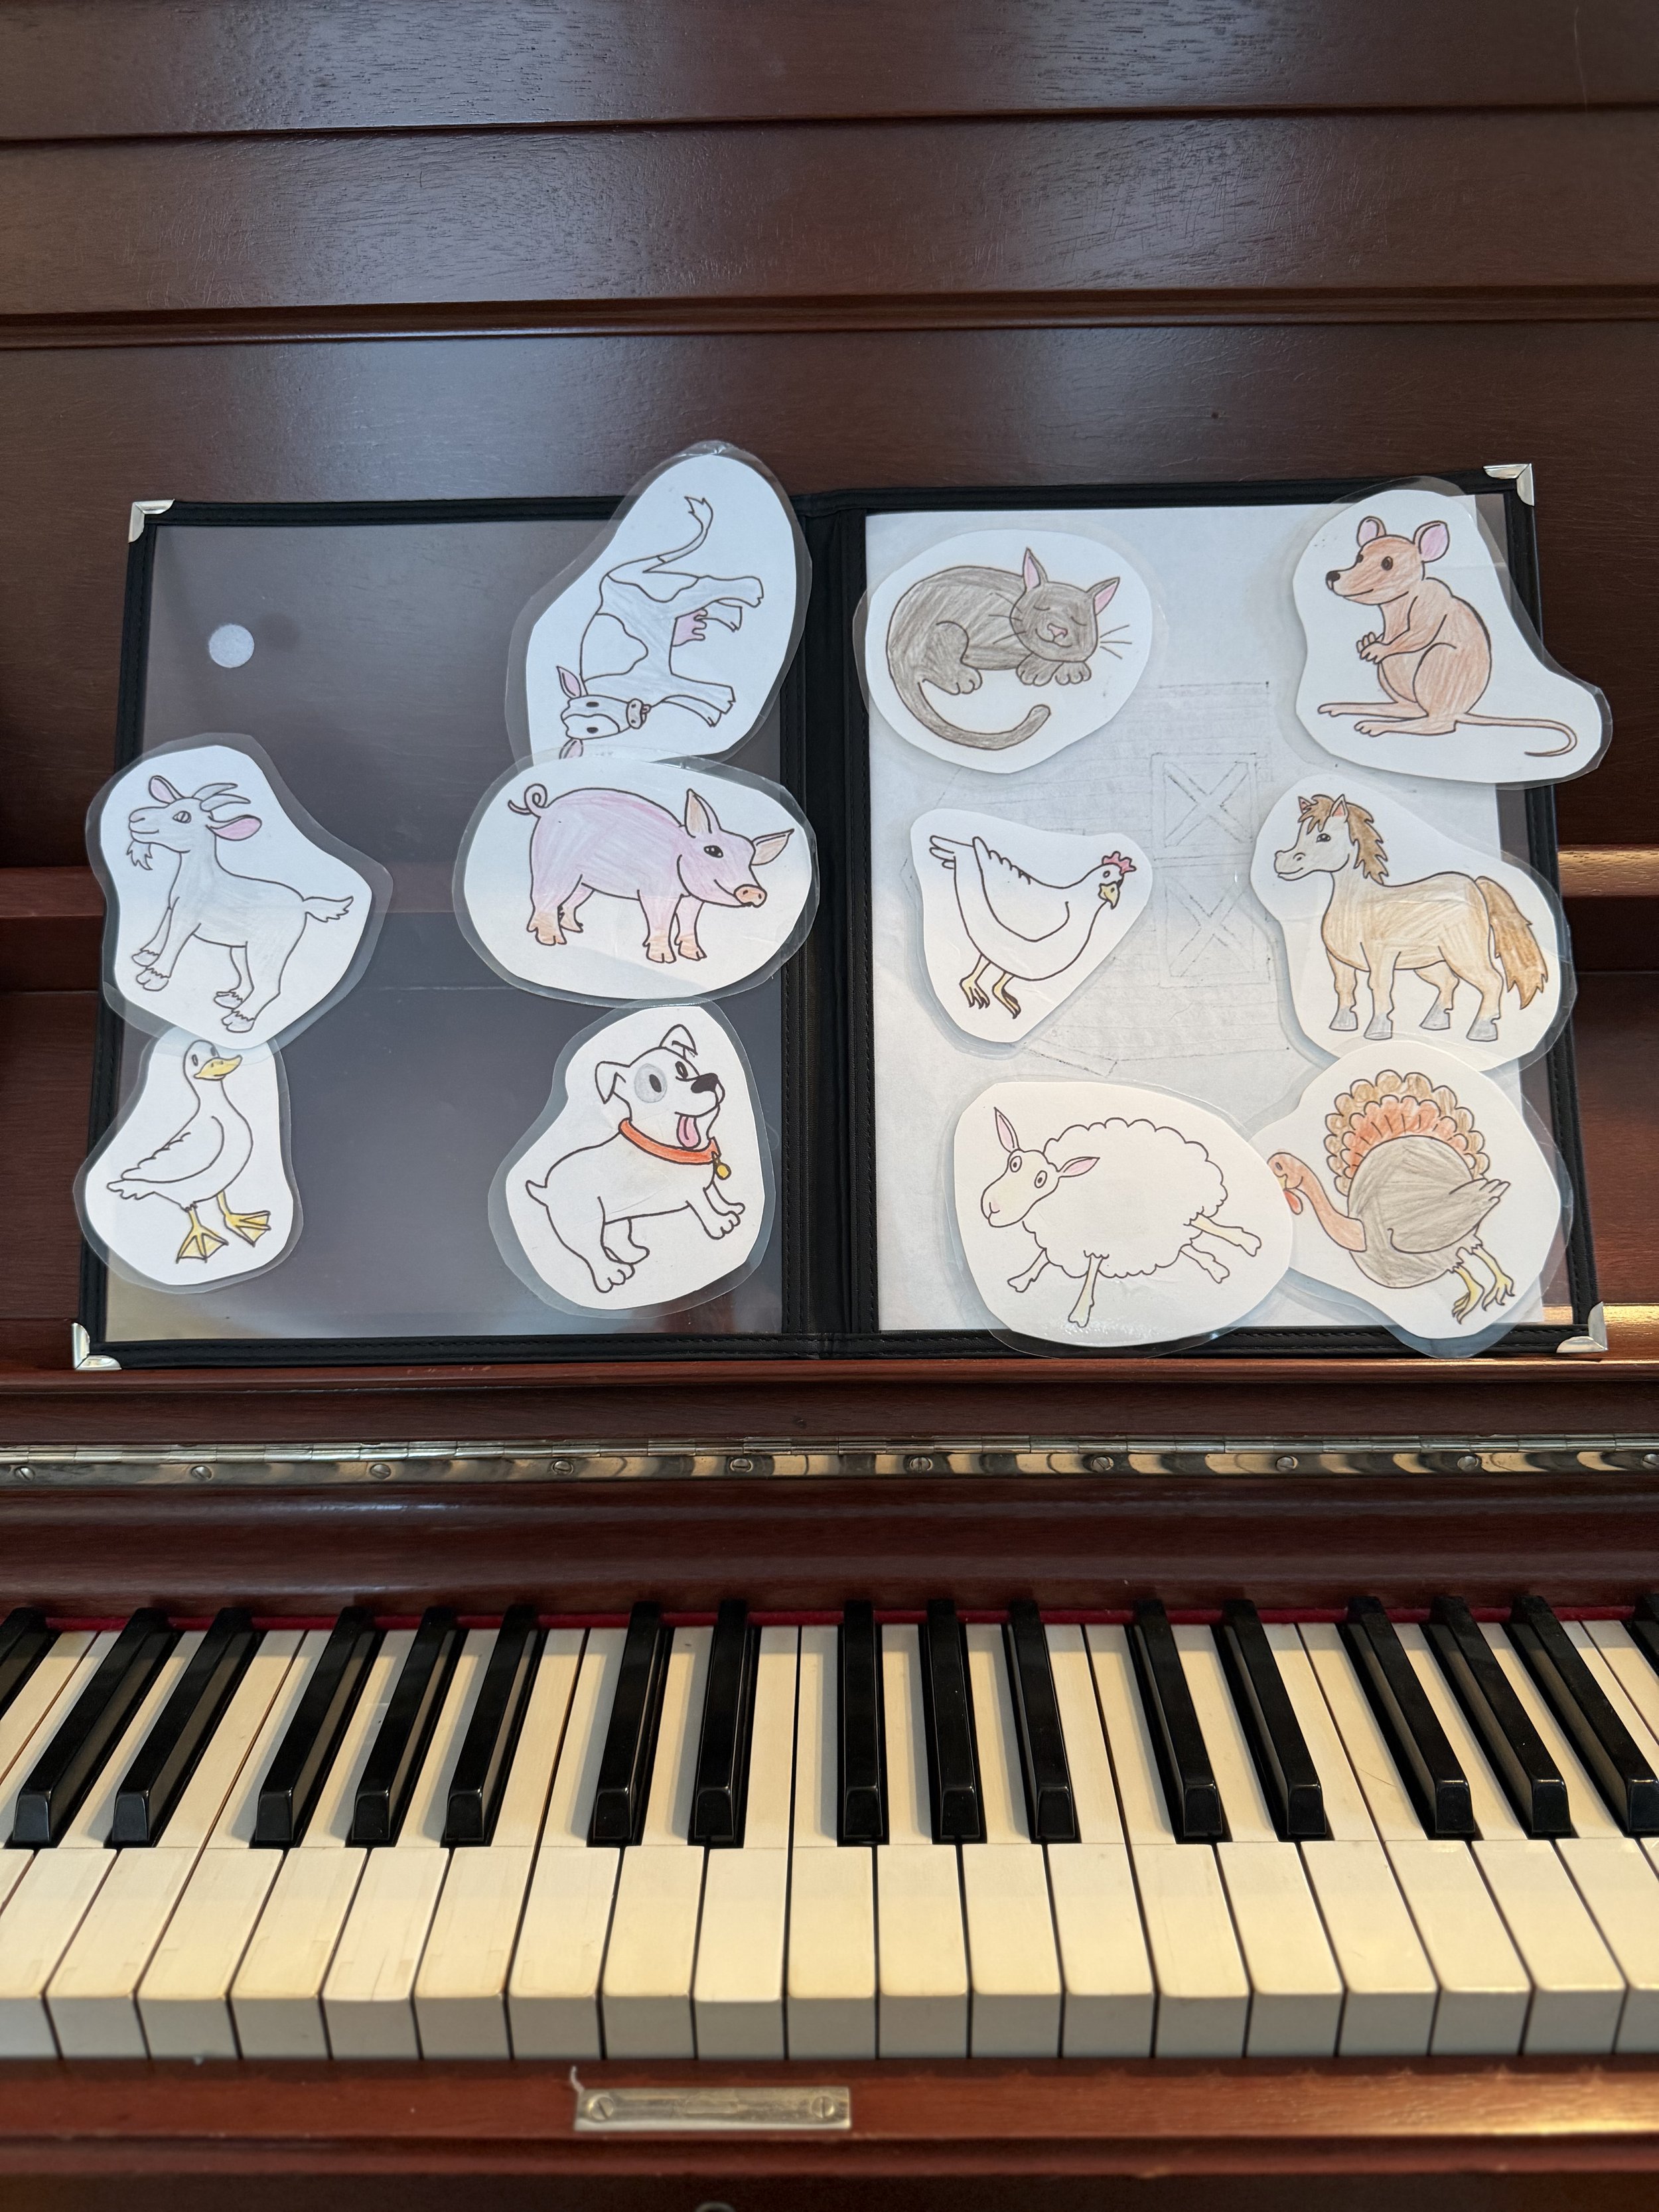
Choice cards on a velcro board
Choice cards do not have to be rectangular. In this example, the cards are shaped like the farm animal in each drawing. The choice cards are attached to a velcro board and can be removed.
Most of our students are able to gesture to the choice card of their preference. Different classrooms use different prompts to encourage this action. Some teachers say “pick,” “choose,” “point,” “touch,” or they physically mimic pinching or grabbing at a card. Make sure that you use the prompt that is most familiar to any given child.
The ability to make choices, regardless of communication tools and other support, is a skill that most of us take for granted. In fact, I would guess that I don’t notice most of the times that I make decisions within a typical day. This automaticity helps me to live with agency and autonomy– something we all wish for our students with high support needs. Choice cards can be an indispensable tool for supporting the development of decision-making skills, in addition to a device for access and inclusion.
Click here to read detailed instructions about how to make your own choice cards.