
Tutorial: How to make choice cards
Click here to hear this post read in Jess’ voice. Demo video at the bottom of this page.
The physical creation of functional and durable choice cards is not as intuitive as you might expect! My earliest uninformed attempts at choice cards fell short of my hopes, so this post is all about the things that I wish I knew about how to produce choice cards.
Learn from my first mistake: do not laminate an 8x11 choice board, cut it into pieces, and expect to have usable, durable choice cards. They will be too small and easy to lose, and too flimsy to withstand repeated grabbing.
My choice cards before and after: on the left is one of my early efforts, with a picture cut directly from a choice board, which is dwarfed by the size of the card itself. On the right is a more-recent choice card with an enlarge image that is easier to see.
Check our post on choice boards for instructions on how to find and select images for your own visual menu. Once I have an electronic file of a choice board, here are the steps I take to turn them into high quality choice cards. A video is posted at the bottom of this page.
Sample choice board
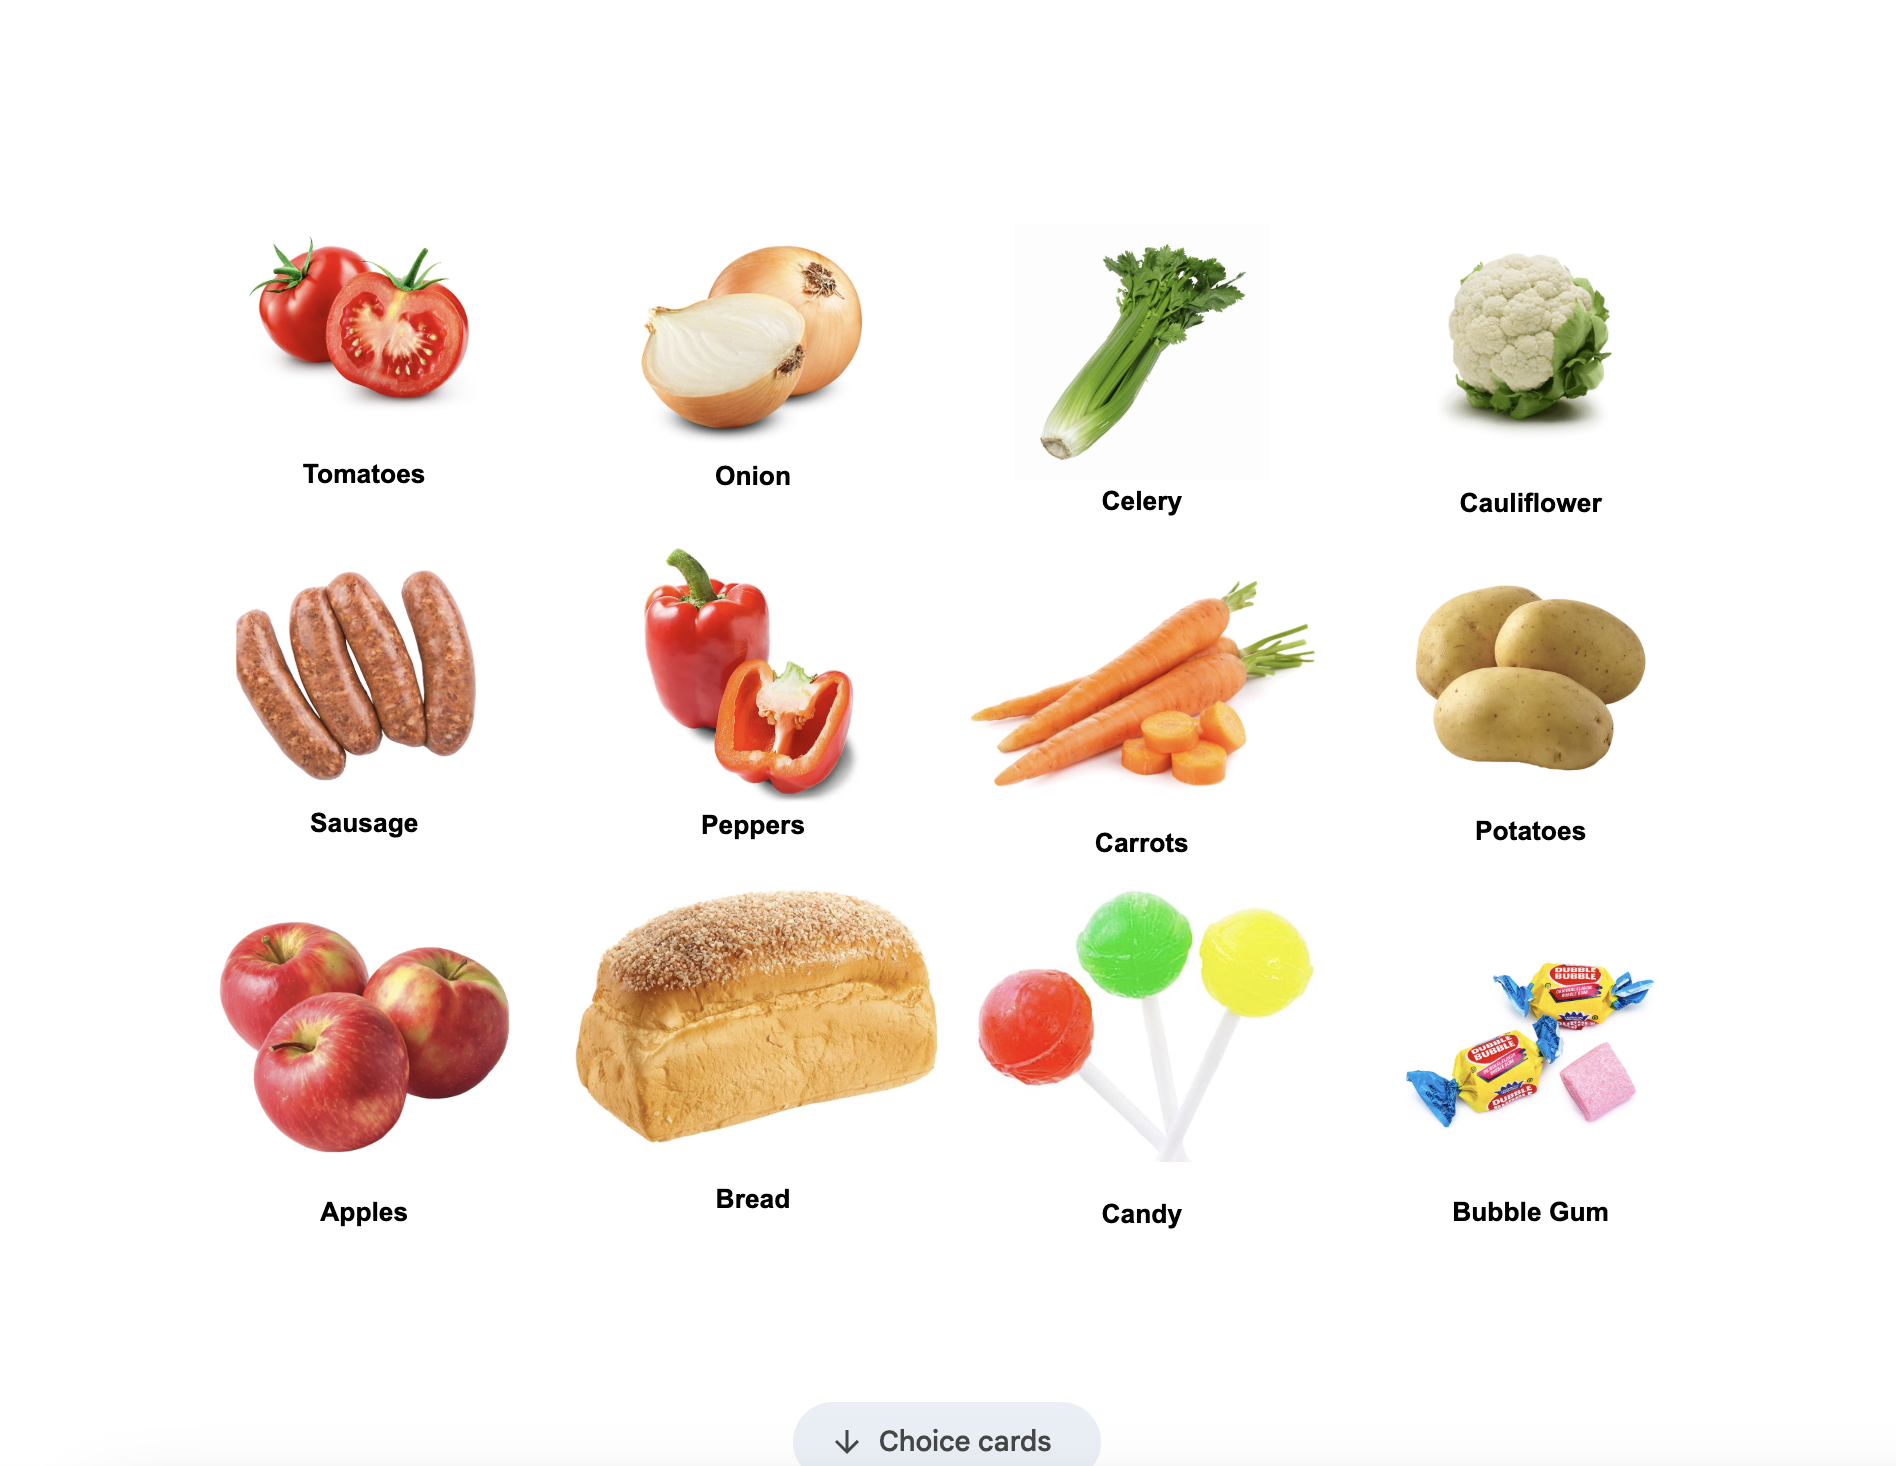
This 8x11” page holds twelve images with one-inch margins all around. These images are too small for creating effective choice cards.
Images enlarged for creating choice cards
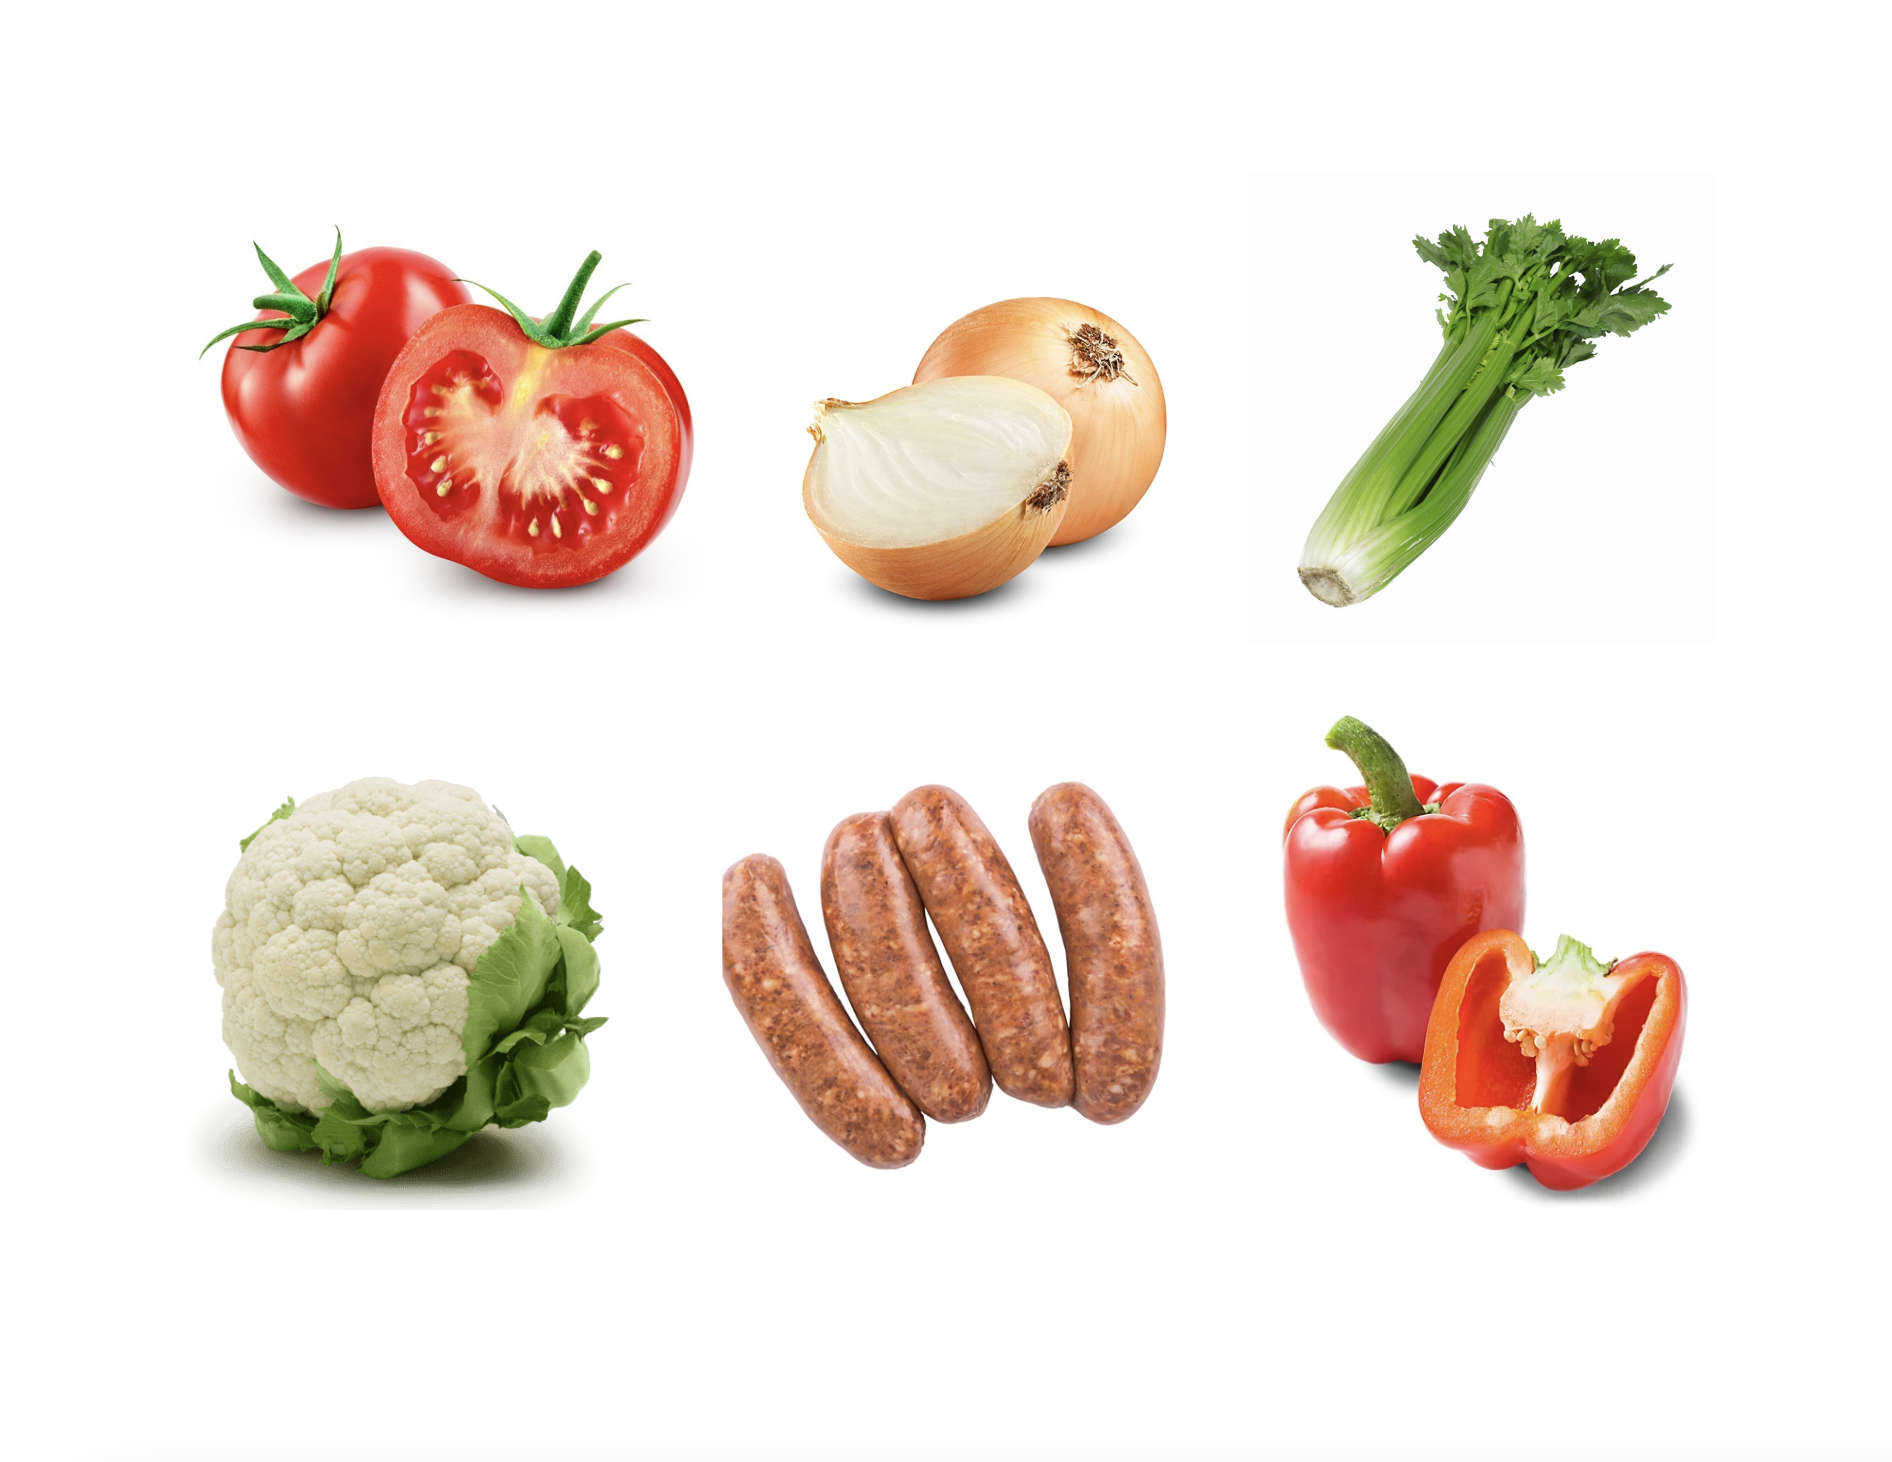
Six images on an 8x11” page with one-inch margins typically generates the appropriate scale of image for choice cards.
Copy all of the images and slightly enlarge them for making choice cards. I find that fitting six images onto a printer page with one-inch margins generates the right scale.
Print the images.
Cut out each individual image.
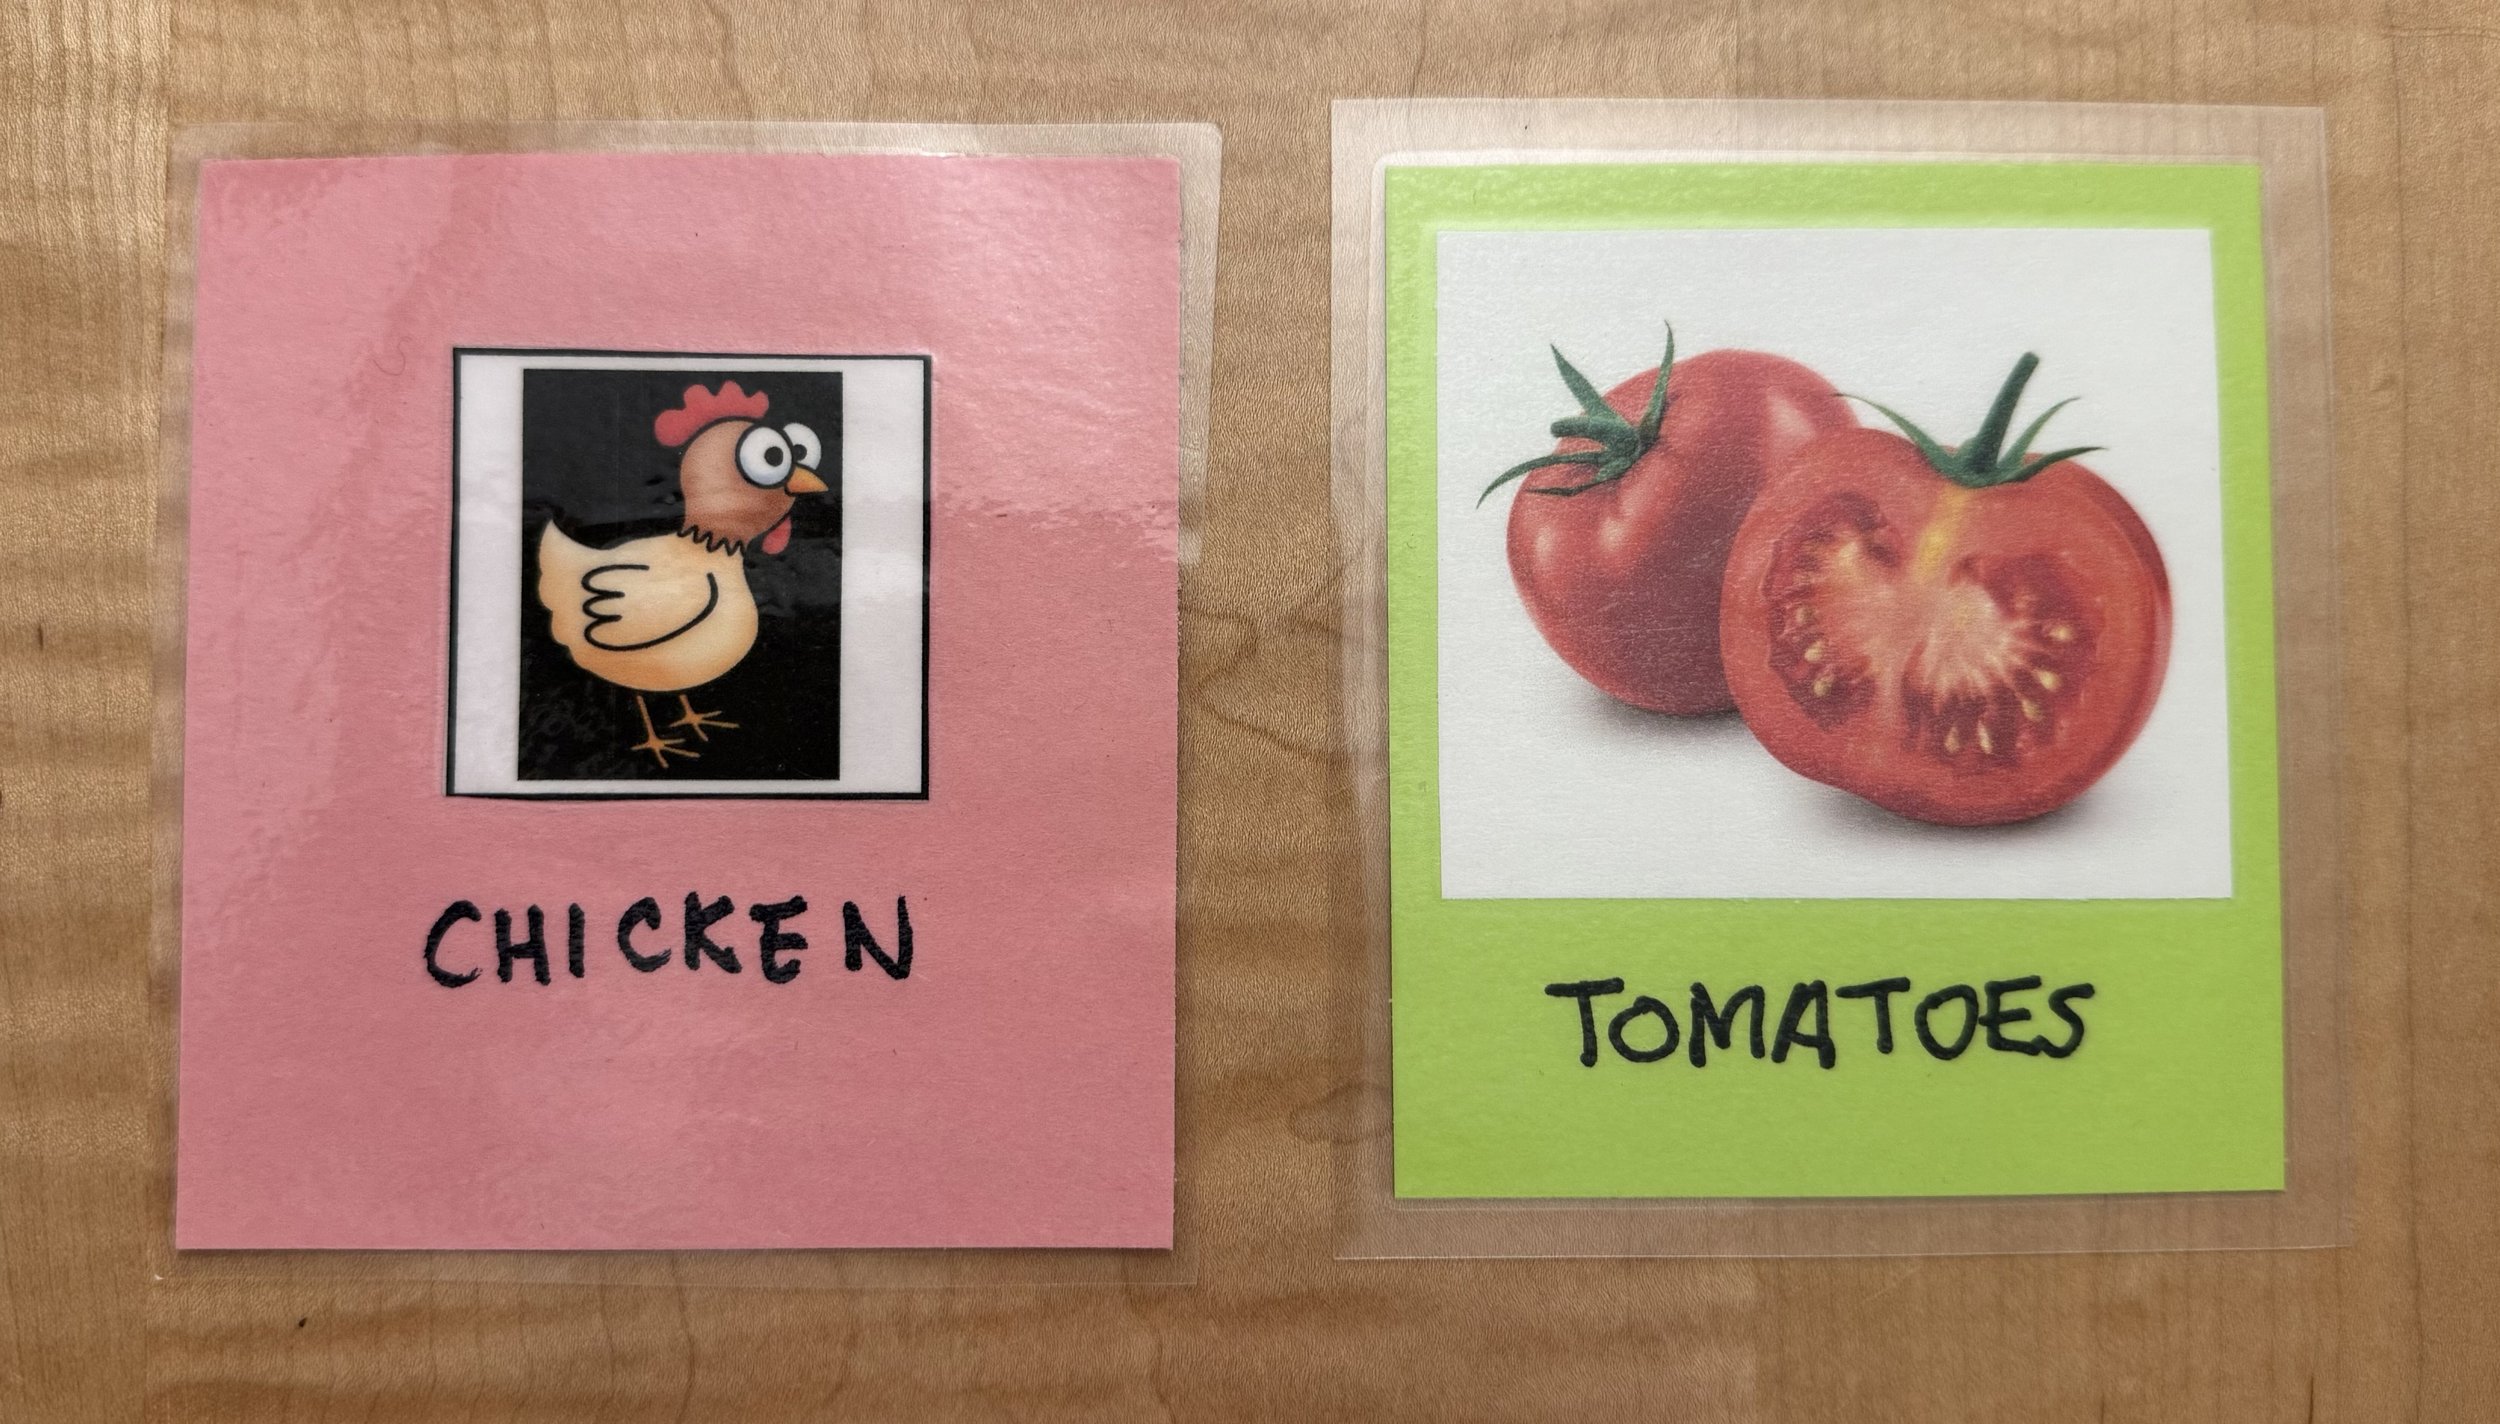
Cut blank ‘cards’ out of colorful paper like construction paper or hued printer paper. Do not use patterned scrapbook paper, which can be visually distracting to students. I really like using a paper trimmer to make this task quick and provide straight, square cuts. The exact dimensions of these cards don’t matter much, but mine tend to be close to 3x4” or slightly smaller. The finished size depends on the original size of the paper I’m cutting up. Most often I will cut a piece of background paper into six cards. I like to use a different color for each themed deck, which makes it easier for me to sort mixed up cards or grab the right set from my collection.
Use a loop of tape to attach each image to a card.
Use a black marker to write a clear description in block text beneath the image. The text provides an additional access point for comprehension and connections in the classroom. It also ensures that you will use consistent language from class to class and week to week.
Place the cards into a thermal lamination pouch with half an inch to an inch of space in between each of them, and at least a quarter inch from the outside edge of the lamination plastic. We recommend using 5 mm thermal pouches rather than 3 mm because they are more durable.
Laminate the cards in pouches.
Cut the cards out, leaving some sealed lamination material as a margin beyond the edge of the paper all the way around. Thermal plastic doesn’t adhere to construction paper very well, so if there isn’t a plastic seal all the way around, the plastic will soon peel off and you will have to remake the cards. If the plastic hasn’t sealed all the way around the card and you used 5 mm thermal pouches, individual cards can usually go back through the laminator to finish the job. If you used 3 mm pouches and attempt this, they will likely come out severely wrinkled and could even jam or damage your laminator.
Join your deck together with a binder clip or rubber band. Now it’s ready for storage, travel, or use.
I’m not the only one who appreciates explicit, detailed instructions, right? If you take care in producing your choice cards, they can last for years and survive all the grabbing and squishing that is bound to come their way. Happy choice-making!